

Drew_Callahan
Moderator
Master Cruise Ship Photography in 2026: Lighting, Composition & Camera Settings for Instagram-Worthy Shots
After 40+ cruises, I've shot thousands of photos—from midnight deck parties on Royal Caribbean's Icon to golden-hour sunsets in Cozumel. Here's the honest truth: you don't need a fancy camera to capture stunning cruise memories. You need the right techniques, an understanding of how ship lighting works, and a few composition tricks that separate blurry snapshots from photos people actually want to see.
Whether you're using your phone's camera or a mirrorless setup, this guide will transform how you photograph your cruise. I'm sharing the exact settings, timing strategies, and positioning secrets that have made my cruise photos stand out for years.
Understanding Cruise Ship Lighting: Your Biggest Challenge and Best Opportunity
Cruise ships present a unique lighting puzzle. During the day, you're battling intense sun reflection off the water and metal surfaces. At night, you're dealing with harsh fluorescent indoor lighting and dim ambient deck lighting. The key is recognizing where light comes from and positioning yourself accordingly.
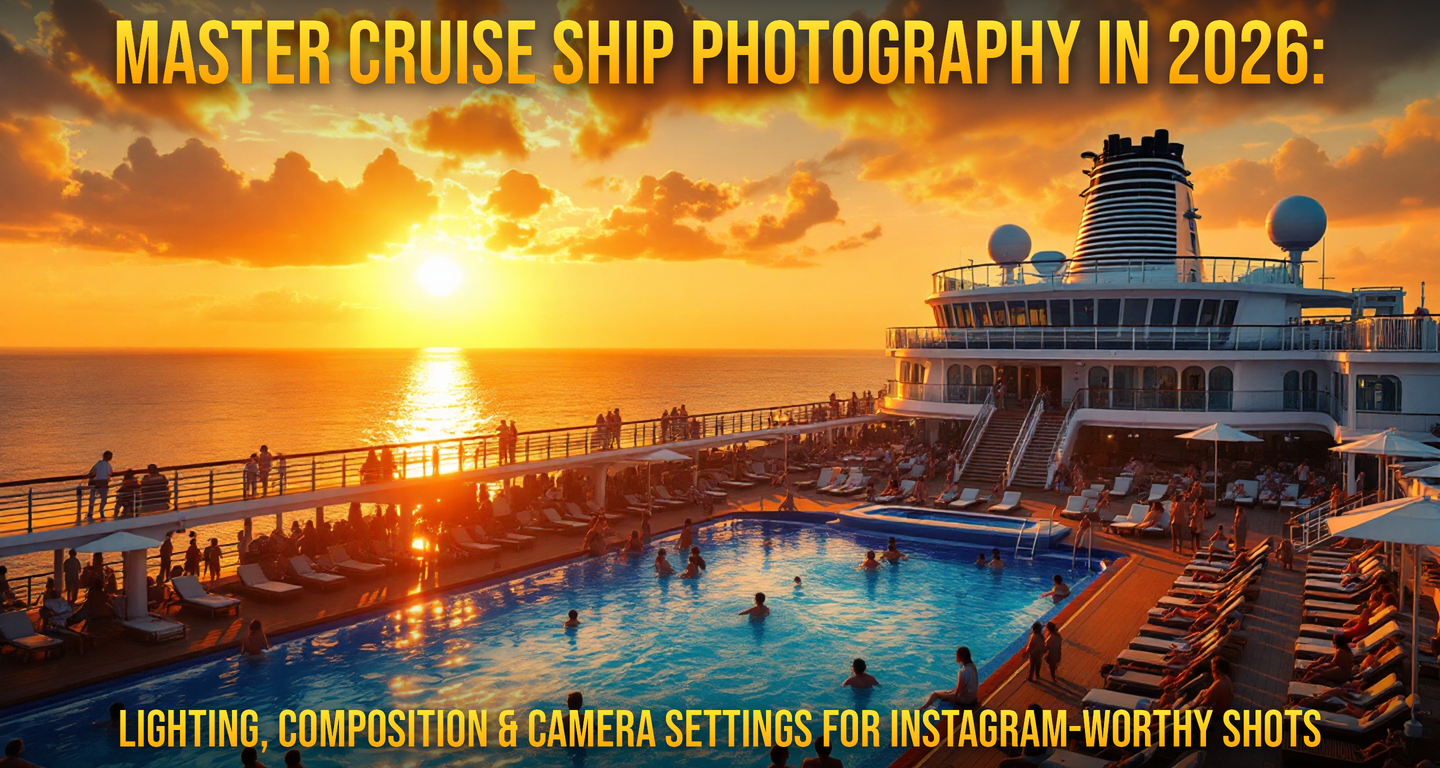
Golden hour is your golden ticket. Shoot during the first 30 minutes after sunrise and the last 90 minutes before sunset. This is when the sun is low, warm, and forgiving. On a Caribbean cruise, this means waking up early on sea days to photograph the pool deck when light is soft, or positioning yourself at the back of the ship at sunset for that perfect glow across the water.
Inside the ship, those atrium shots everyone tries? They're actually easier than you think if you expose correctly. The trick: don't rely on your camera's automatic settings. Instead, increase your ISO to 800-1600 (yes, a little noise is better than blurry) and slow your shutter to 1/30th of a second while using a tripod or leaning against a railing. This captures the ambient lighting without overblowing the bright spots.
Outdeck during golden hour, I shoot with ISO 100-400 depending on cloud cover, aperture at f/2.8 to f/5.6 to keep the scene sharp, and shutter speed between 1/250th and 1/1000th. In dim cabin hallways or specialty restaurants, bump ISO to 1600-3200 with aperture wide open (f/1.8 or lower if you have it).
- Sunrise deck shots: ISO 200, f/4, 1/500s — gets the sky detail without losing the ship's silhouette
- Sunset dining on the veranda: ISO 400, f/2.8, 1/125s — balances golden light with sharp food detail
- Night pool deck party: ISO 1600-3200, f/2, 1/60s — captures movement and vibrant lighting
- Atrium interior shots: ISO 1200, f/5.6, 1/30s with tripod — deep depth of field without excessive noise
Experiment within these ranges. Every ship, every time of day, and every camera sensor behaves differently.
Composition Tricks That Actually Work Onboard
Technical settings matter, but composition is what makes people stop scrolling. Here are the positioning and framing strategies I use constantly on cruises.
The Rule of Thirds (But Make It Personal)
Don't center everything. Place the horizon on the top or bottom third of your frame, not dead center. If you're shooting your balcony view, put the ocean on the bottom third and sky on the top—or flip it if the sky is more interesting. On the Harmony of the Seas, I positioned myself at Deck 16 to shoot the waterslide on the bottom third with sky and the ship's tower on the upper two-thirds. It's more dynamic than shooting straight across.
Leading Lines Draw Eyes Into Your Photos
Cruise ships are geometric goldmines. Use the lines of the pool, railings, deck chairs, or the wake behind the ship to guide viewers' eyes into your frame. Shoot from a corner of the pool looking diagonally across—the deck chair rows become leading lines. Photograph from the aft (back) of the ship looking forward along the wake—that white foam trail pulls people through the image.
Layers Create Depth
Avoid flat, one-dimensional photos. Include foreground, middle ground, and background. For example: focus on someone in a chair on your veranda (foreground), the ocean and other ships (middle ground), and sky/clouds (background). This creates visual depth even in a phone photo. Inside the ship, include a passenger in a specialty restaurant (foreground), the dining space and other diners (middle), and the backdrop (background).
Phone vs. Camera: Honest Comparison and When Each Works Best
Let's be real: your phone is probably better than you think. In 2026, even mid-range phones shoot in computational photography modes that rival entry-level cameras in good light. Here's my honest breakdown:
Use your phone when:
- You're shooting during golden hour (phone cameras excel here)
- You want candid moments without the bulk of a camera
- You're doing close-up food or cabin detail shots (phones have incredible macro modes now)
- You're in very bright daylight (phones handle harsh sun better than you'd expect)
Bring a dedicated camera when:
- You want low-light flexibility (specialty restaurants, night deck events, cabin interiors)
- You need optical zoom without losing quality
- You're shooting video of activities and want smooth autofocus
- You want to edit RAW files for maximum control
Personally, I bring both. My phone is always ready for moments I don't expect; my mirrorless camera goes on when I'm intentionally shooting. On my last Disney cruise on the Fantasy, I shot the character dining with my phone because I wanted to capture the candid reactions, but I switched to my camera when the evening show started so I could track the performers with fast autofocus.
Phone settings matter too. Use portrait mode sparingly—it often struggles on ships with busy backgrounds. Tap on your subject to lock focus, then adjust exposure by sliding your finger up or down. Use the gridlines (turn them on in settings) to line up shots with the rule of thirds. Many phones have RAW photo modes now; use them. RAW files give you way more flexibility in post-processing.
Specific Camera Settings for Common Cruise Scenarios
Balcony Sunrise Over the Ocean
You want that sky detailed, not blown out. Expose for the sky, not the water.
- ISO: 100-200
- Aperture: f/5.6 to f/8 (sharp throughout)
- Shutter: 1/500s to 1/1000s
- Focus: Lock on the horizon
If your camera has it, use exposure compensation at -0.5 to -1.0 to preserve sky detail.
Specialty Dining Room Dinner
Trick: ask the server to dim the table spotlight slightly (they almost always will). Then:
- ISO: 1600-3200
- Aperture: f/2.0 to f/2.8 (shallow depth of field, blurred background)
- Shutter: 1/100s to 1/125s
- Focus: On the plate, not the person's face (unless you're shooting a portrait)
Shoot from slightly above the plate at a 45-degree angle. This angle shows the food's texture and the ambiance behind it.
Deck Party or Evening Entertainment
These are chaotic and lit weirdly, but that's actually good for dramatic photos.
- ISO: 3200-6400 (yes, really)
- Aperture: f/2.8 or wider if you have it
- Shutter: 1/60s to 1/125s
- Focus mode: Continuous autofocus to track movement
Position yourself to the side of the action, not directly in front. The colored deck lighting will frame your subjects from behind, creating silhouettes and highlights.
Port Photography: Making the Most of Limited Time
You've got 8 hours in Cozumel or 10 hours in Nassau. You can't shoot everything, so be intentional.
Scout the Light First
When you dock, spend 10 minutes just looking at where the sun is and how light is hitting your surroundings. Are you shooting into the sun (backlighting, creates silhouettes) or with the sun behind you (frontal light, captures color and detail)? This determines where you position yourself for your best shots.
Include the Cruise Ship in Your Port Photos
This is the insider move. Instead of just shooting the beach or ruins, frame your shots to include the ship in the background. It shows where you were, adds scale, and makes the memory more specific. On a Cozumel snorkel trip, I positioned myself in the water with the ship visible in the distance. Instant context and emotion in one frame.
Bracketing for Difficult Light
Port light is often harsh (bright sun, deep shadows). If your camera has it, use exposure bracketing: shoot three frames—one exposed for shadows, one for highlights, one in between. Later, you can blend them or choose the best one. This is especially useful at beach ports where the contrast between sand and sky is extreme.
Editing Your Cruise Photos for Maximum Impact
You've captured great shots. Now don't skimp on editing. This is where good photos become stunning ones.
Essential Adjustments (Free Options Work Fine)
- Exposure: Slightly underexpose (pull back 0.3 to 0.5 stops) to keep skies from blowing out
- Contrast: Increase by 10-20 points to make colors pop without looking fake
- Saturation: Increase by 15-25 points, but not more—oversaturated cruise photos look amateur
- Vibrance: If your editor has it, increase this instead of saturation for more natural color
- Shadows: Lift slightly to recover detail in dark areas
- Highlights: Pull back gently to recover blown-out skies
Use Lightroom (Adobe's free version) or Snapseed (free phone app) to make these adjustments. Both let you edit RAW files and see changes in real-time.
Specific Tweaks by Photo Type
Golden hour photos: Boost warm tones slightly (increase temperature by 100-300K). Don't crush the blacks; keep detail in shadows.
Deck party photos: Increase vibrance and slightly increase shadows to bring out details in the darkened areas without washing out the bright lights.
Food photos: Increase saturation carefully (food photos are easy to oversaturate). Adjust white balance if the plate looks too yellow or too blue.
Landscape/port photos: Use graduated filters to darken skies while keeping the foreground properly exposed. Increase clarity slightly for detail.
Common Mistakes I Still See (And You Should Avoid)
After thousands of cruise photos, I've spotted patterns in what doesn't work:
- Centering everything: Not every photo should have your subject dead center. Use the rule of thirds and leave room for the viewer's eye to wander.
- Shooting into the sun without intention: Backlighting can be beautiful, but it needs to be deliberate (for silhouettes or rim lighting). Accidental backlighting just kills detail.
- Overstuffing the frame: Include fewer, more important elements rather than cramming everything in. A clean, simple shot of a cabin balcony at sunset beats a chaotic wide shot of six deck areas.
- Zooming too far: Digital zoom on phones destroys quality. Get physically closer instead.
- Editing too aggressively: That sunset looks better when you enhance it subtly, not when you crush contrast and oversaturate colors until it looks like a movie poster.
- Forgetting to shoot vertically: Not every moment needs a horizontal frame. Portrait orientation works great for full-body shots, tall ship exteriors, and people-heavy scenes.
Your Cruise Photography Action Plan
Here's what to actually do on your next cruise:
Day 1 (Embarkation): Shoot your cabin, the atrium, and early evening deck shots. This is low-pressure; get comfortable with your settings.
Sea Days: Wake up early for sunrise. Shoot golden hour before and after dinner. Experiment with composition—leading lines, layered shots, rule of thirds.
Port Days: Scout light first, position yourself for backlit shots, include the ship in backgrounds, and save your best battery for sunset shots from the tender boat or dock.
Evening Entertainment: Shoot from the side, use high ISO without fear, and focus on movement and emotion rather than perfect sharpness.
Last Night: Shoot your favorite dining venue, capture candid moments with travel companions, and don't stress about perfection. You're building memories, not a portfolio.
Join the CruiseVoices cruise photography forum to share your shots, get feedback, and see how other cruisers are capturing their voyages. Honestly, the best way to improve is to shoot, share, and learn from what actually resonates with other cruise enthusiasts.
Your cruise memories deserve photos that match the experience. These techniques work, I've tested them on 40+ sailings, and they'll transform how your cruise photos look.
Share your best cruise photos and photography tips in our cruise photography community—I'd love to see what you capture on your next voyage.