Drew_Callahan
Moderator
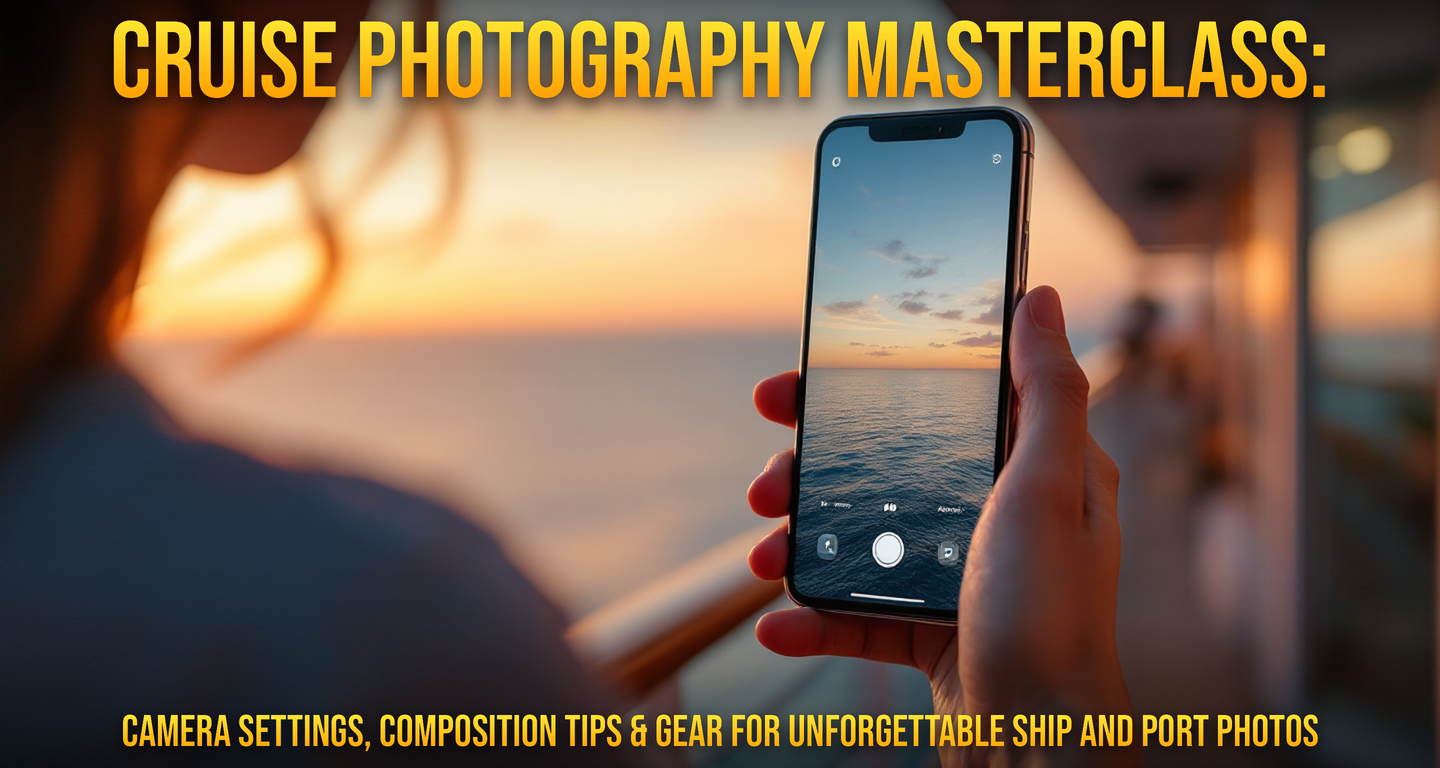
Why Cruise Photography Matters (And How to Stop Taking Blurry Sunset Photos)
After 40+ cruises, I've taken thousands of photos—and I've learned that the difference between a throwaway phone snap and a frame-worthy keepsake comes down to a few simple techniques. Whether you're shooting a sunrise from the Lido Deck on Royal Caribbean's Wonder of the Seas or capturing the cobblestone streets of Dubrovnik, the right settings and composition will transform your cruise memories.
The honest truth? Most cruise photos fail because people rely on automatic mode and hope for the best. You can do better. And you don't need a $3,000 camera to prove it.
Essential Camera Gear for Cruise Photography
Smartphone: Your Most Powerful Tool
Let's start here because 90% of cruise passengers shoot exclusively on phones—and that's perfectly fine. Modern smartphones (iPhone 15 Pro, Samsung Galaxy S24, Pixel 8 Pro) have computational photography that rivals cameras costing five times as much.
Why phones work on cruises:
- Pocket-sized and always with you (unlike a DSLR you'll leave in the cabin)
- Excellent low-light performance for deck parties and sunset photos
- Built-in HDR mode that handles tricky backlit scenes
- Instant sharing to family (though watch your data plan—more on that below)
Phone photography gear worth buying:
- Wide-angle lens clip-on (~$20-60): Lets you capture an entire ship's atrium or sweeping port vista. Brands like Moment or Olloclip attach magnetically. Game-changer for landscape shots.
- Tripod with phone mount (~$15-40): Essential for group photos, self-portraits with the sunset, and hands-free video of ports. I use a compact 3-foot model that fits in my day bag.
- Phone ND filters (~$30-80): These darken your scene so you can use slower shutter speeds in bright sunlight—perfect for smooth water reflections or blurred movement.
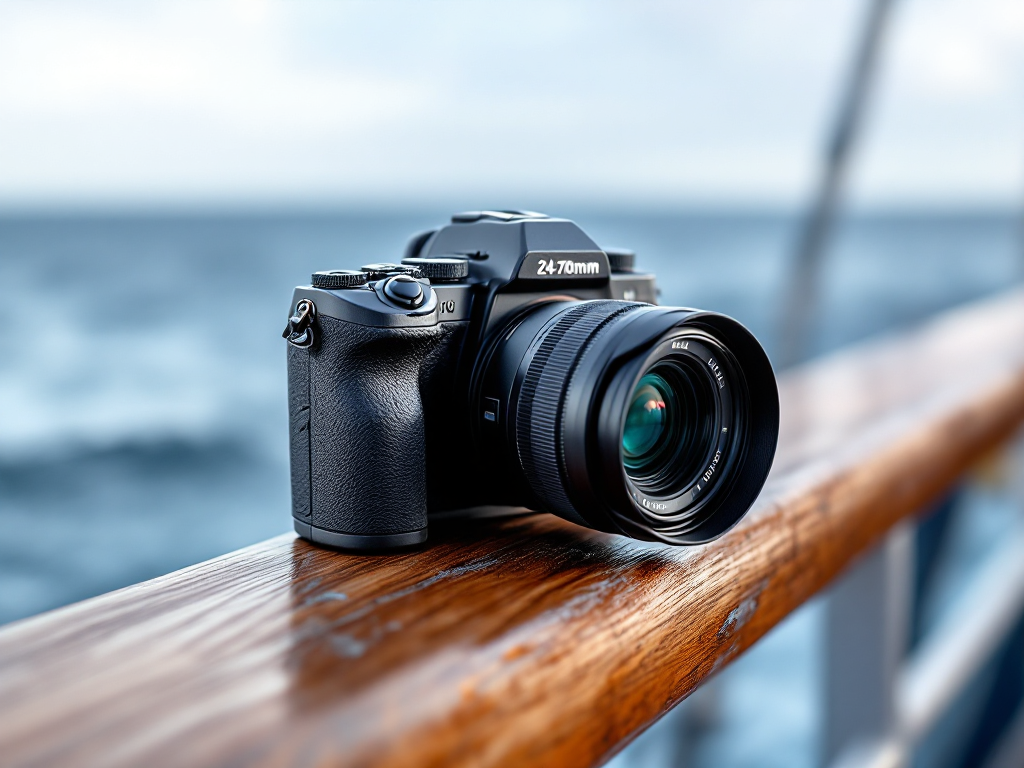
Dedicated Cameras: When to Bring One
If you're serious about photography, a mirrorless camera like the Sony A6400 (~$900 body only) or Canon R50 (~$800) gives you manual control that phones can't match. But here's my honest take after 40+ cruises: the inconvenience factor is real.
Mirrorless camera pros:
- Superior zoom range—you can shoot a detailed port scene from the ship's deck
- Full manual mode for creative control (aperture, shutter speed, ISO)
- Weather-sealed bodies handle salt spray better than phones
- Interchangeable lenses let you adapt to different lighting conditions
Honest cons:
- You'll leave it in your cabin half the time because it's bulky
- Changing lenses on a rocking ship invites dust on your sensor
- Charging multiple batteries and managing memory cards adds friction
- You'll look like a tourist (which you are, but some people mind)
My recommendation: Bring a camera only if you're genuinely passionate about photography. Otherwise, your phone's 3x zoom is sufficient for 95% of cruise shots.
Lenses and Focal Lengths That Matter
If you do bring a dedicated camera, focus on these focal lengths:
- 24-70mm (standard zoom): Your workhorse. Covers landscapes (24mm), portraits (50mm), and compressed telephoto (70mm). One lens, countless situations.
- 70-200mm (telephoto): Compresses background detail beautifully. Perfect for isolating a port town's architecture or a ship detail against the ocean. At 200mm, you can photograph the captain on the bridge from Deck 8.
- 14-24mm (ultra-wide): Captures massive things: the full atrium, an entire island, your ship from the tender boat. Use sparingly or you'll distort your subjects.
Camera Settings for Cruise Photography Success
Smartphone Settings (iPhone/Android)
Golden Hour Sunset Photo (your Lido Deck money shot):
- Use Portrait Mode if your friend is in the foreground—it blurs the background sunset naturally
- Enable HDR automatically so shadows stay detailed while sky doesn't blow out white
- Tap the sunset on your screen to lock exposure on it, not your friend's silhouette
- In editing, boost shadows by 20-30 points and drop highlights by 10-15 to recover detail
Daytime Port Photography:
- Switch to Wide camera (not 2x zoom) to avoid digital degradation
- Use Smart HDR to balance bright sky with darker buildings
- Tap on your main subject to focus there (don't trust auto-focus near water, which confuses the sensor)
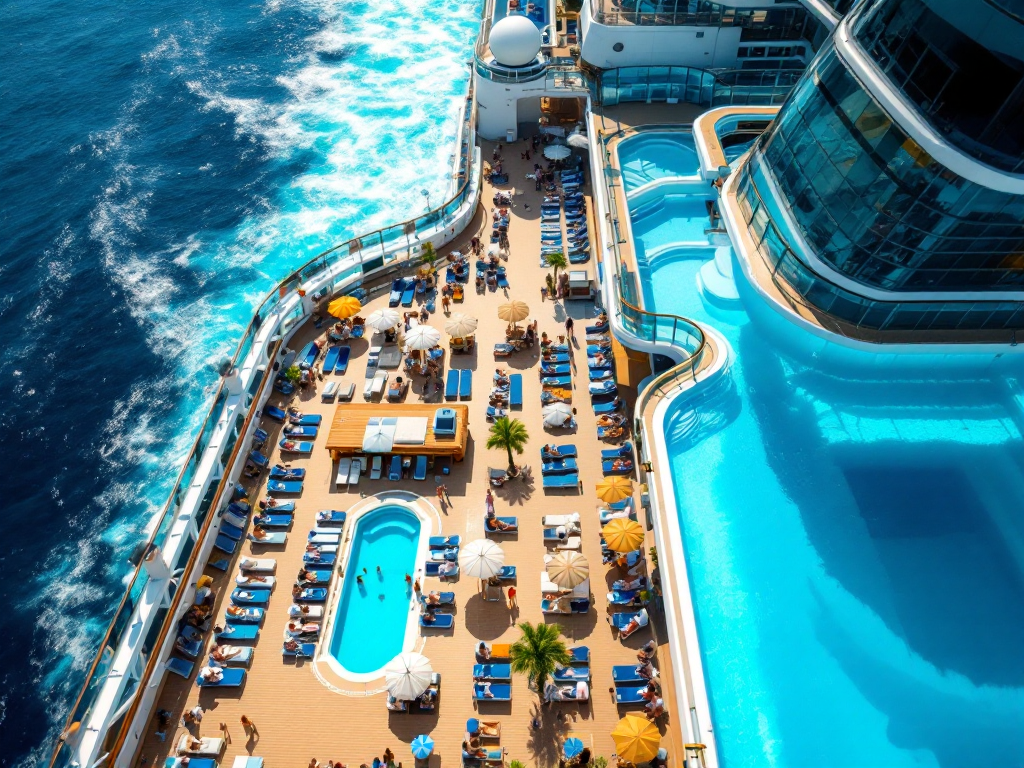
Ship Detail Shots (railings, doors, poolside scenes):
- Enable Night Mode in low light—let it run for 3-5 seconds for maximum light gathering
- Avoid digital zoom; take a step closer instead
- Use 3x optical zoom if available (it's real data, not interpolation)
Mirrorless Camera Settings (Sony, Canon, Nikon)
Aperture (f-stop):
- f/2.8-f/4: Portraits, isolating subjects (shallow depth of field)
- f/5.6-f/8: Group photos, ship interiors (everything stays sharp)
- f/11-f/16: Landscapes (ultra-sharp throughout)
Shutter Speed:
- 1/500s or faster: Moving subjects, action on deck, wind-blown hair
- 1/60s: Standard walking-around speed in good light
- 1/15-1" (1 second or longer): Nighttime ship photos, silky water reflections (use a tripod)
ISO (sensor sensitivity):
- 100-400: Bright daylight, deck photos
- 800-1600: Cabin interiors, covered promenade, evening poolside
- 3200+: Dark theaters, nightclubs, late-night deck events (accept some grain)
White Balance:
Set to Daylight (5500K) or Cloudy (6500K) for natural colors. Avoid Auto—it drifts in mixed lighting. For sunset, try Shade (7500K) to warm tones naturally.
Composition Techniques That Transform Photos
The Rule of Thirds (And Why You Should Break It)
Place your subject at the intersection of imaginary grid lines dividing your frame into thirds. A sunset isn't dead-center; it's on the upper-third line. Your friend isn't in the middle; they're left-of-center with ocean on the right.
Pro tip: Enable Grid Mode in your camera settings. It's a game-changer for training your eye. After 50 photos, you'll naturally compose this way without thinking.
Leading Lines: Guide the Viewer's Eye
Cruise ships are geometric playgrounds. Use them.
- Railings: Photograph them as diagonal lines toward a distant port
- Deck lines: The white lines on the pool deck point toward vanishing points
- Staircases: Shoot from above or below for depth
- Pathways in ports: Shoot down a Moroccan medina's narrow street toward an archway
The viewer's eye follows lines. Lead them to something interesting.
Framing Within the Frame
Use something in the foreground to frame your main subject. Shooting a beach port? Include a palm frond at the frame edge. Photographing the ship? Include a railing or porthole in the foreground to add depth.
Real example: On a Celebrity Cruises Mediterranean itinerary, I framed the white cliffs of Santorini through the ship's pool netting. The three layers (netting, cliffs, sky) created depth that a flat beach shot never would.
Foreground, Middleground, Background (The 3-Layer Rule)
Every good landscape has three layers:
- Foreground: Something close (flowers at a port, pool chairs, ship railings)
- Middleground: Your subject (a building, another ship, a person)
- Background: Sky, ocean, or distant landscape
Photos fail when you ignore the foreground. They feel flat. Photos win when you deliberately include something in the near distance.
Reflections: Your Secret Weapon
Water is everywhere on a cruise. Use it.
- Photograph the ship reflected in the Lido Deck's glass barriers
- Shoot ports reflected in still water (best on calm mornings)
- Use wet deck surfaces to double your subject
Reflection photos look professional because they're less common. People pause on them.

Specific Scenarios: Camera Settings for Different Cruise Situations
Sunrise from Your Balcony Cabin
Challenge: The sun is bright, the sky is colorful, and you're moving slightly (ship rocking).
Solution:
- Use f/5.6-f/8 (aperture) to keep the foreground railing sharp
- Set shutter speed to 1/500s to freeze any ship motion
- Use ISO 200-400 in pre-sunrise blue light
- Enable HDR (phone) or shoot in RAW (camera) to preserve sky detail
- Position yourself so the sun is slightly off-center, not dead-middle
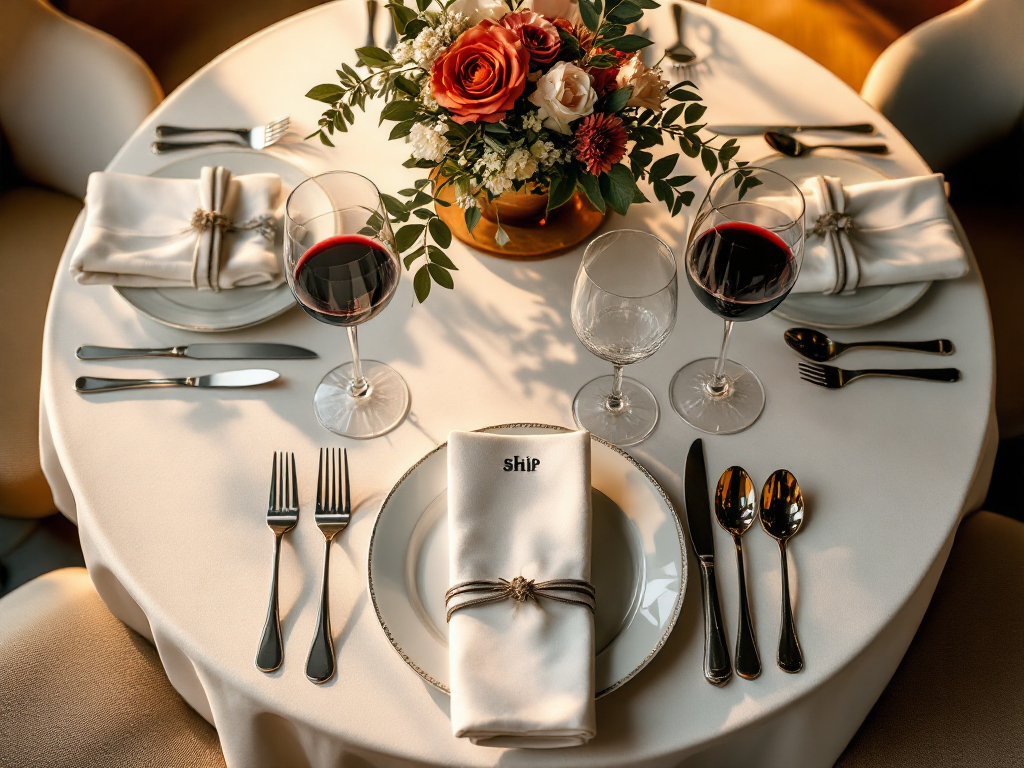
Formal Dinner in the Main Dining Room
Challenge: Warm overhead lighting, low ambient light, people in motion.
Solution (Phone):
- Switch to Night Mode if available
- Hold the phone steady against your chest for 3-5 seconds
- Use the 1x camera, not zoom (less light loss)
- Disable flash—it's harsh and washes out colors
- In Photos app, boost shadows by 30 points, drop highlights by 20
Solution (Mirrorless Camera):
- f/2.8 (fastest lens available)
- 1/60s shutter speed
- ISO 1600-3200 (high sensitivity needed)
- Tungsten white balance (3200K) to warm tones
- Shoot in RAW for maximum post-processing flexibility
Beach Port Day (Aruba, Cozumel, St. Lucia)
Challenge: Intense sunlight, sand reflection, water sparkle, potential skin tones.
Solution:
- Expose for the sky, not the sand—sand reflects light and tricks your metering
- Use f/8-f/11 (everything stays sharp)
- Fast shutter speed: 1/1000s+ in bright sunlight
- Low ISO: 100-400
- Use a polarizing filter (phone clip or camera screw-on) to cut water glare and deepen sky blue
- Position people in shade or backlight (rim lighting looks professional)
Night-Time Pool Deck Party (Foam Party, Deck Dancing)
Challenge: Movement, variable lighting (some bright LED, some dark), fast-moving subjects.
Solution (Phone):
- Night Mode if available—let it gather light for 5+ seconds on a stable subject
- For moving action: use standard camera (not Night Mode) with High Key mode if available to brighten dark scenes
- Position yourself near deck lighting, not in shadow
- Disable flash (it's ineffective at distance and looks harsh)
Solution (Mirrorless Camera):
- f/2.8 (widest aperture)
- 1/250-1/500s (freeze movement)
- ISO 3200-6400 (embrace the grain)
- Shoot in RAW—you'll reduce noise significantly in post-processing
Post-Processing: Turning Good Photos into Great Ones
The shot is taken. Now the real work begins.
Smartphone Editing Apps
Best free option: Photos app (iPhone) or Google Photos (Android)
- Adjust shadows (+20 to +40 points) to recover detail in dark areas
- Reduce highlights (-15 to -25) if the sky is blown out white
- Increase vibrance (+10 to +20) for more punch without looking fake
- Warm up color temperature slightly (+200-300K) for sunset photos
Best paid option: Lightroom Mobile ($10/month)
- Full RAW editing if your phone supports it
- Precise white balance adjustment
- Graduated filters to darken skies
- Clarity and structure sliders for professional depth
Pro tip: Resist over-saturation. Cruise photos don't need cartoon colors. Boost saturation by 10-15% max, or increase vibrance instead (it affects muted colors more than already-saturated ones).
Desktop Editing for Serious Results
If you're shooting on a mirrorless camera, Lightroom CC or Capture One give you professional-grade tools:
- Exposure correction: Brighten or darken the entire photo
- White balance adjustment: Fix warm cabin lighting or cool morning light
- Vibrance and saturation: Add punch selectively
- Clarity: Add micro-contrast for edge definition
- Shadow and highlight recovery: The most important sliders—recover detail in blown highlights and crushed shadows
- Graduated filters: Darken a bright sky while keeping foreground normal
Honest take: You don't need Photoshop for cruise photos. Lightroom handles 99% of what you need, and it's non-destructive editing (your original file stays untouched).
Pro Tips from 40+ Cruises
- Shoot in RAW when possible (mirrorless cameras). RAW files preserve way more detail in shadows and highlights than JPEGs. Your phone automatically processes JPEGs, which is fine, but RAW gives you creative control.
- Avoid shooting into the sun unless you intentionally want silhouettes. Position yourself to the side, and let the sun backlight your subject instead.
- The golden hour is real. One hour after sunrise and one hour before sunset, the light is warm, directional, and forgiving. Wake up early. Stay on deck late. Your photos will improve 300%.
- Clean your lens constantly. Salt spray and fingerprints destroy optical quality. Carry a microfiber cloth and clean every 10-15 minutes on deck.
- Charge everything the night before. A dead camera battery on a port day is devastating. Bring a portable charger and USB-C cable—they're 90% of cruise photography success.
- Take photos of small details, not just grand vistas. Close-up of your drink in a port café. Ship's nameplate on the hull. Cabin door number. These details tell your story better than the 50th sunset photo.
- Photo contests are real. Many cruise lines (Royal Caribbean, Celebrity) run onboard photo contests with cash prizes. Shoot intentionally and submit your best work.
- Don't photograph everything. Paradoxically, the best way to improve your photography is to be selective. Choose three shots per port, not 100. Constraints breed creativity.
Final Thoughts: Photography Enhances Your Cruise
Photography isn't about the gear. I've seen stunning photos taken on iPhone 12s and technically perfect photos that feel empty. The difference is intentionality.
When you slow down to compose a shot, you notice details you'd otherwise miss—the texture of weathered wood on a fishing boat in Cozumel, the blue-hour light turning the ship's stack purple, the way your partner's face looks in soft morning light.
That's the real value of cruise photography: it deepens your presence in the moment.
Share your best cruise photos in the CruiseVoices Cruise Photography forum. Get feedback from thousands of fellow cruisers who understand the challenge of capturing magic at sea. You'll learn faster from a community than from any YouTube tutorial.