Why Your Cruise Photos Matter (And Why Most People Get Them Wrong)
You're standing on the Promenade Deck of the Wonder of the Seas at golden hour, the sky is painting itself in impossible shades of orange and pink, and you pull out your phone to capture the moment. You take the shot, look at your screen, and think: why does this look so flat and washed out?
After 40+ cruises, I've learned that the difference between a forgettable vacation photo and a shot you'll treasure for years isn't about having expensive gear — it's about understanding light, composition, and the specific challenges of shooting on a ship. Whether you're using your smartphone, a mirrorless camera, or a DSLR, the principles are identical. Let me share what actually works.
Mastering Light: The Golden Rule of Cruise Photography
Light is everything. Not just any light — the right light.
Here's what I've learned from hundreds of sunrises on open decks:
- Golden hour is non-negotiable. Shoot 60-90 minutes after sunrise or before sunset. During these windows, sunlight travels through more atmosphere, creating warm, directional light that adds dimension to every shot. Your typical 2pm pool deck photo? It'll look harsh and washed out. The same scene at 6pm? Pure magic.
- Avoid midday shooting (10am-3pm). The sun is directly overhead, creating harsh shadows under people's eyes and flattening textures on ship exteriors. If you must shoot at noon, position your subject in shade and use your camera's fill-flash feature to even out exposure.
- Backlighting creates drama. Position your subject between you and the light source — whether that's sunset over the water or the ship's exterior lit from behind. This creates a rim of light around edges, separating your subject from the background. Underexpose slightly (reduce brightness by 1-2 stops) to keep those backlit subjects visible.
- Overcast days are underrated. Clouds act as a giant softbox, diffusing harsh sunlight evenly. Port days with cloud cover? Don't groan — that's when your photos of monuments, historic buildings, and people will look their absolute best.
- Watch your white balance. On deck, especially near the ocean's reflection, blue light dominates. If you're shooting in Auto mode, colors can shift blue or cyan. Switch to "Daylight" or "Cloudy" preset, or shoot in RAW format (if your camera allows it) so you can adjust white balance later.

Composition: The Framework That Transforms Snapshots Into Keepsakes
Once you've nailed your lighting, composition is what separates amateur ship photos from the kind you'll actually want to print.
The Rule of Thirds: Imagine your frame divided into a 3x3 grid. Place your subject (or the horizon line) along these grid lines or intersections, not dead center. This creates visual interest and balance. Most smartphone cameras have a grid overlay option — enable it. When photographing the sunset over the water, place the horizon on the upper or lower third line, never in the middle.
Leading Lines: Ships are full of them — railings, deck lines, corridors, the wake trailing behind the stern. Use these to guide the viewer's eye toward your main subject. Photograph down a row of poolside loungers toward a focal point. Capture the perspective of a hallway leading to a cabin window. These compositional tricks add depth and narrative.
Framing: Use natural elements to frame your subject. Photograph a port city through the ship's railings or porthole. Frame a sunset through the metal structure of a lifeboat. This adds layers and immediately elevates your composition.
Foreground, Middle Ground, Background: Don't flatten your scenes. Include something interesting in the foreground (a cocktail glass, a deck chair), keep your main subject in the middle ground, and ensure the background has depth. This three-layer approach transforms 2D photos into images with real visual dimension.
Avoid centered horizons. If your image has water and sky, place the horizon on the upper third (emphasizing the water) or lower third (emphasizing sky). A centered horizon line feels static and boring.
Real Camera Settings for Cruise Conditions
Here's where gear-specific advice matters. I'm giving you starting points — adjust based on your ship's lighting conditions, your camera model, and time of day.
For Smartphone Users (iPhone, Android):
Your phone's AI is actually pretty good. But here's how to outsmart it:
- Use Portrait Mode for people shots, especially on deck. It blurs the background (bokeh effect), making your subject pop against crowded pool scenes.
- In low light (inside the dining room, cabin), tap on your subject to lock focus, then slide your finger up on the screen to increase exposure slightly. This brightens your shot without losing detail.
- Enable HDR mode for sunset photos. HDR (High Dynamic Range) captures both the bright sky and darker foreground details that would normally be lost.
- Edit in your phone's built-in Photos app: increase Contrast (+10 to +20), Saturation (+5 to +15), and Warmth (+5 to +10) on golden hour shots. These small tweaks make ordinary photos feel professional.
- If your phone has a Pro or Manual mode, set ISO to 100-400 (lower in bright light, higher indoors), shutter speed to 1/250s or faster when shooting moving subjects or in windy conditions, and let your phone adjust aperture.
For DSLR/Mirrorless Camera Users:
You have more control. Use it.
- Golden hour deck/port photography: Aperture f/4-f/5.6, shutter speed 1/250-1/500s (depending on movement), ISO 100-400. If shooting in Aperture Priority mode (recommended), set your f-stop, let the camera choose shutter speed, and adjust ISO only if needed.
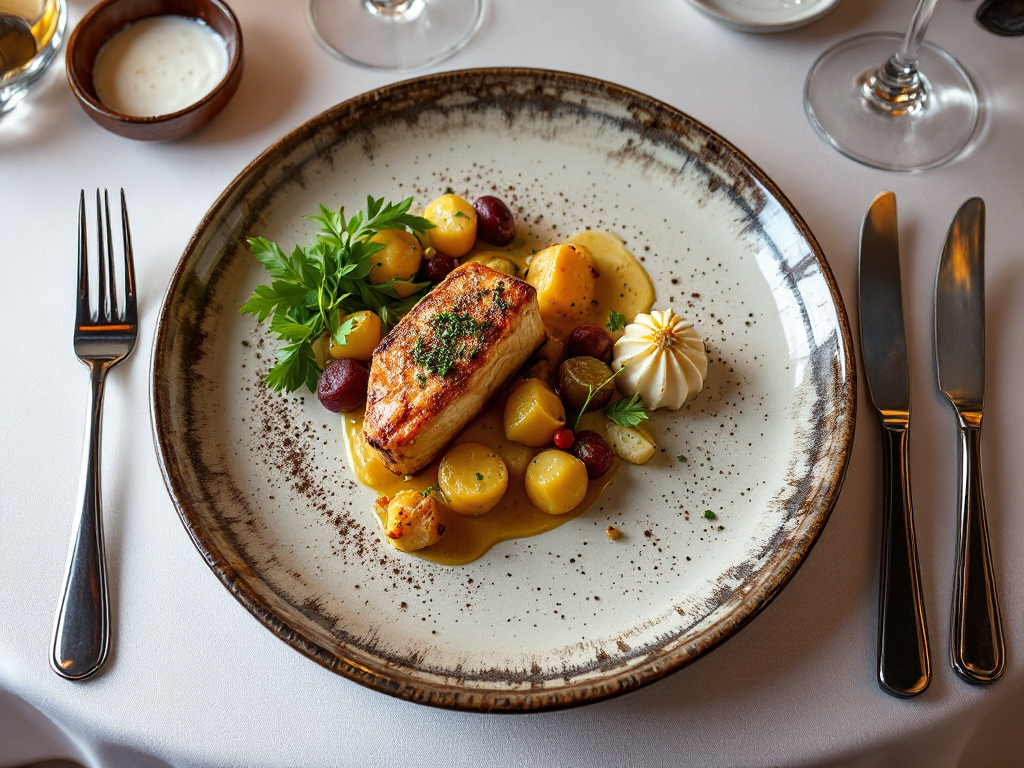
- Cabin interiors/dining room shots: Aperture f/2.8-f/4, shutter speed 1/125-1/250s, ISO 800-1600. Wider apertures (lower f-numbers) let in more light and create that beautiful blurred background.
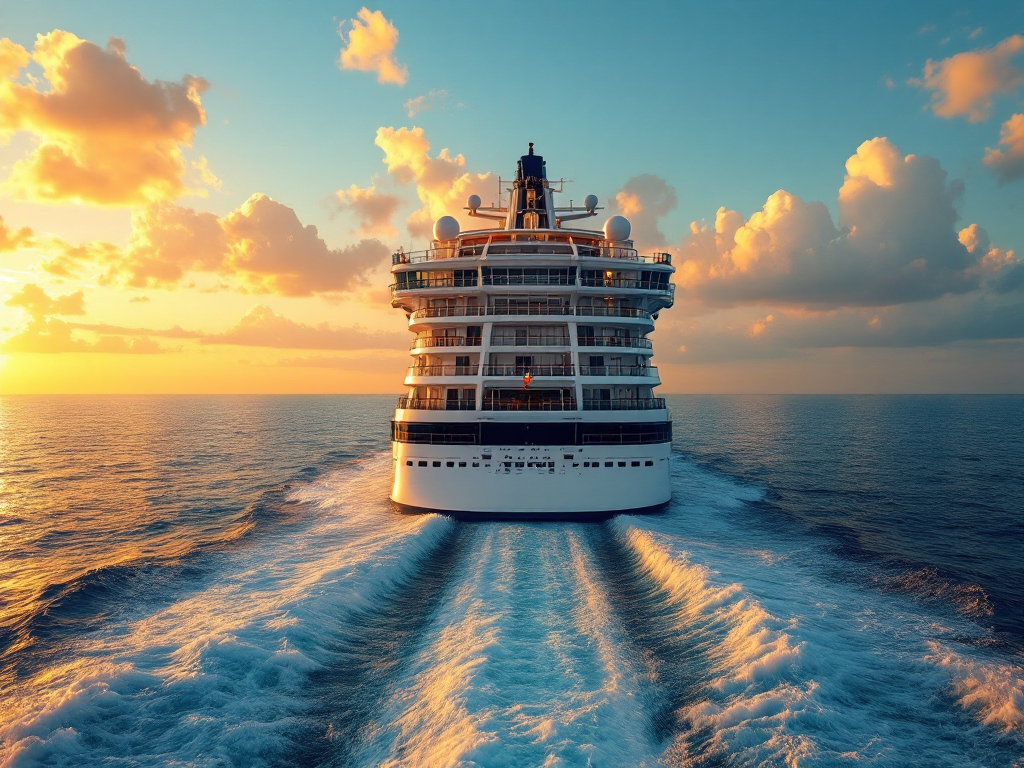
- Sunset/sunrise over water: Aperture f/8-f/11 (for sharp detail across the scene), shutter speed 1/30-1/125s, ISO 100-400. Use a tripod or brace yourself against the railing to avoid camera shake.
- Action shots (water sports, excursions): Shutter speed 1/500s or faster, Aperture f/5.6-f/8, ISO 400-1600. Fast shutter speed freezes motion.
- Shoot in RAW format whenever possible. RAW files preserve way more color and exposure data, giving you flexibility in post-processing. JPEGs are compressed and throw away detail.
- Shoot in Aperture Priority mode (A or Av dial setting). You control aperture (which controls depth of field), the camera controls shutter speed, and you override ISO only when necessary. This gives you creative control without the mental load of setting three variables in manual mode.
Ship-Specific Challenges (And How to Solve Them)
Cruise photography has unique problems regular photography doesn't.
Motion and Vibration: Even on calm seas, ships vibrate constantly. Your long telephoto lens at 1/60s will show blur. Never go below 1/250s on deck, even in lower light. If your camera allows it, enable in-body or lens stabilization (IS or VR). This stabilization can give you 2-3 extra stops of shutter speed safety.
Reflections on Glass: Photographing through cabin windows or the ship's glass railings? You'll see yourself reflected. Angle your camera 45 degrees to the glass to avoid dead-on reflection. Polarizing filters help but can be finicky — positioning is more reliable.
Crowded Decks: The main pool deck on Carnival Celebration at 2pm is shoulder-to-shoulder humanity. Shoot from above (balcony) looking down, or position yourself very low looking up to minimize crowds in your background. Arrive at venues early or late in the day.
Inconsistent Light on Deck: Partial shade from ship structures creates patchwork lighting. Position your subject in open sunlight or open shade — avoid the border between light and shadow, which creates unflattering contrast across faces.
Sunlight Glare on Water: Direct sunlight bouncing off the ocean creates blown-out, overexposed white water. Use a polarizing filter (reduces glare by 30-50%), or slightly underexpose your shot (-0.5 to -1 stop) and bring back shadow detail in post-processing.
Port Photography: How to Get Authentic Shots (Not Tourist Clichés)
Ports present different lighting and compositional opportunities than the ship itself.
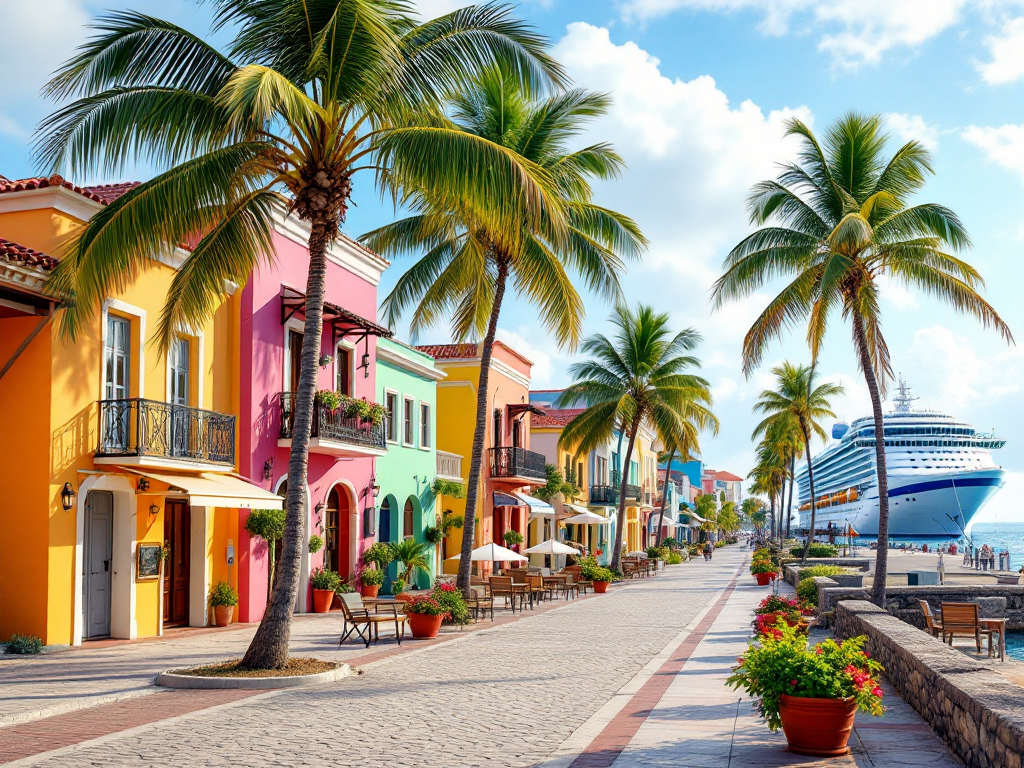
In Caribbean ports (Cozumel, Belize City, Grand Cayman): Arrive at ports in early morning when light is golden and crowds are thin. Photograph architecture from unexpected angles — get low, get high, shoot through foreground elements. Skip the crowded beach photo everyone takes; instead, capture the texture of colonial buildings, the color of fishing boats, the authentic details.
In Mediterranean ports (Santorini, Barcelona, Rome transfers): Midday light is harsh here too, but older stone architecture has beautiful texture even in harsh light. Shoot in black and white (or convert to B&W later) to emphasize shadow and texture over color. Arrive very early before cruise ship crowds descend.
In Alaska: The light is different — long hours of daylight with no strong shadows. Shoot throughout the day, but favor overcast conditions (common here) which are ideal for landscape work. Glaciers, mountains, and wildlife all photograph beautifully in soft, diffused light.
Always scout locations quickly when you dock. Walk 50-100 meters from the pier, figure out where light is falling, where crowds congregate, and which direction you should position yourself. Spend 10 minutes planning; it changes everything.
Post-Processing: The Secret Most Cruise Photographers Ignore
This is where your photos come to life.
Smartphone editing (using built-in Photos, Snapseed, or Adobe Lightroom Mobile):
- Increase Contrast by +15 to +25 on most daytime shots. This adds pop.
- Increase Saturation by +10 to +20, but watch skin tones — back off if people look artificial.
- Adjust Shadows (+5 to +15) to bring out detail in dark areas without blowing out highlights.
- Crop aggressively. Remove foreheads, unnecessary background, dead space. Tighter compositions feel more intentional.
- Straighten horizons. Crooked water lines ruin otherwise great photos.
DSLR/Mirrorless editing (using Lightroom, Capture One, or similar):
- Adjust white balance first. Cruise ship light is often blue; warming up images by 200-800K (Kelvin) instantly improves them.
- Recover blown-out sky detail by dropping Highlights to -20 to -40.
- Lift shadows by +15 to +30 in your Shadows slider — this adds detail in dark areas.
- Increase Clarity by +15 to +25 for daytime shots. (Lower or skip Clarity on people portraits, which can look harsh.)
- For golden hour: increase Vibrance (+10 to +20) and Warmth (+100-300K) to enhance that natural warmth.
- Vignetting (darkening corners): subtle vignetting (amount: -5 to -15) draws attention to the center of your image.
Gear You Actually Need (Spoiler: Not as Much as You Think)
Honest truth: I've shot incredible cruise photos with a $200 smartphone and with a $3,000 camera setup. The camera matters less than 90% of photographers think.
Smartphone users: You need nothing else. Your phone's camera is genuinely excellent. Maybe grab a small tripod ($20-40) for sunset shots where you want to avoid camera shake.
DSLR/Mirrorless users: A versatile zoom lens (24-70mm or 18-55mm) covers 90% of cruise scenarios. A wide-angle lens (16-35mm) is great for ship exteriors and dramatic landscape/port shots, but not essential. A telephoto (70-200mm) is nice for wildlife (Alaska cruises, Caribbean birds) and compressing distant cityscapes, but optional. Skip buying new gear; master what you have.
Accessories worth considering: Circular polarizing filter ($30-80) for reducing glare and deepening sky color. Small lightweight tripod ($25-50) for stable sunset shots. Extra memory cards and batteries — crucial. A lens cleaning cloth — wind and salt spray leave residue.
The One Thing That Actually Separates Good Cruise Photographers From Everyone Else
It's not expensive gear. It's not knowing every technical setting. It's intentionality.
Most cruise photos are taken by people reacting to moments — snapping quickly, not thinking about light or composition. The best cruise photographers pause. They notice where light is falling. They move to better positions. They wait for interesting moments to unfold. They edit thoughtfully instead of posting straight JPEGs.
On your next cruise, commit to one day of intentional photography. Wake up for sunrise. Spend 15 minutes on composition and light before you take a shot. Edit one photo carefully, adjusting contrast and white balance. The difference will amaze you.
Your next cruise is full of incredible visual moments. Now you have the knowledge to capture them properly.
Share your favorite cruise ship photos and get feedback from experienced cruisers in our Cruise Photography forum — post your best deck, cabin, sunset, and port shots, and let our community help you improve!